|
Major Electrical Systems and Solar Upgrade
|
When we sold our old RV we gave the buyer the choice to purchase the Solar System or not,
he chose not to. We carefully un-installed it from the old RV and reinstalled in on the new RV.
Solar system equipment:
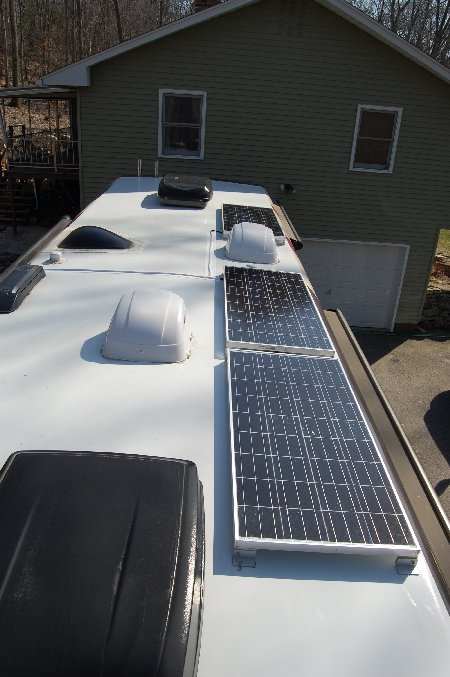
3 - Keyocera 130TM solar panels
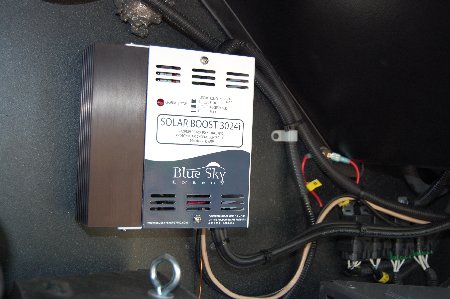
1 - Blue Sky 3024i Charge Controller
1 - IPN Pro remote with 500a Shunt & Temperature sensor
Our old RV had a rubber roof and I was very comfortable bolting things down to it... The new
RV has a Fiberglass roof and I was scared to bolt anything to it. So I turned to the brilliant
minds of the Open Roads Forum and asked there advise.
They said use double sided sticky tape. What? Are you crazy? They said use 3M VHB #4950. I
researched the tape, Supposedly the 3M VHB #4950 tape has 140 lb/in2 Normal Tensile strength.
Each of the four brackets is 1.5" x 3" for a total surface area of 4.5". Thats 630lb of hold down
per bracket or 2520lb per panel.
This looked promising although I will tell you it made me nervous. The thought of nothing but tape
holding these expensive panels on the roof is a little un- nerving.
Well I carefully remade the bracket feet that go to the roof. I scuffed them and cleaned them as
directed by 3M and applied the VHB tape to them.
I then started the hard part, finding a path from the roof to the rear most compartment on the
curbside of the coach. I wanted to drill as few holes as possible and as small as possible.
I found I could go down through the Refrige vent on the roof then drill a hole in the floor at the rear
of the refrige, that got me into the furnace compartment and from there there was a factory hole to the
water heater area. I found an utility access compartment to get at the back of the water heater. and from there
I was into the wheel well. I could get at the back compartment no problem.
So DW and I ran 3 sets of 10/2 wire from the roof to the rear compartment.
Now I had the same problem with the display unit, I was no better with wood then last time, So I again brought
in the experts (My neighbor) you may remember he helped me (pushed me aside and fixed it) when I broke
the manifold bolt in the head when doing the Thorley Headers.
He is an excellent craftsman with everything he does so I am glad he helped.
He and I built a nice little box to frame the electronic display unit. We made it bigger then needed so when I
add the Progressive Dynamic HW50 EMS (Now Installed) I can put the display in it too..
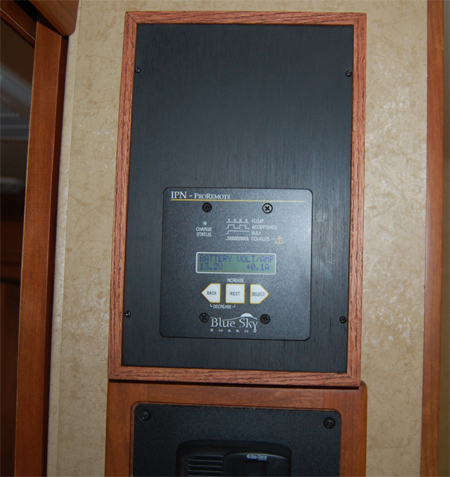
Ok so all the wire are run to the back compartment, lets wire it all up.
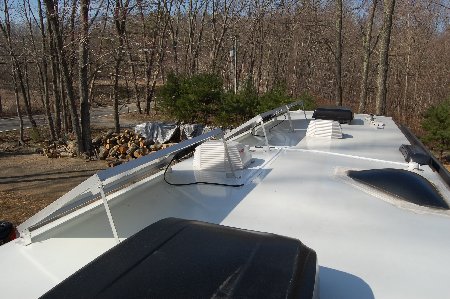
I then mounted the Solar Panels using brackets I made. These bracket give you the ability to tilt the panels
all the way up for cleaning and service and I built tilt rods to angle the panels towards the sun during
extended stays or during the winter months.
Looking Front to back
Looking Back to Front (in tilt mode)
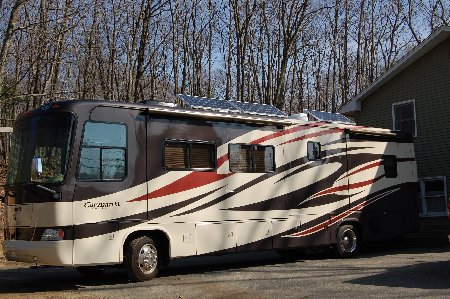
From the ground
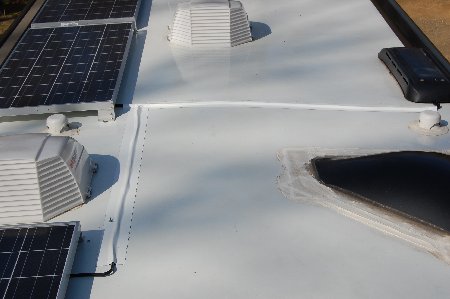
I used Eternabond to hold the wires down.
So far everything is working great. Again It is really neat to see more amps going to the battery then
coming from the solar panel. MPPT is really cool.
I also really like the 2nd 2amp charging system for the chassis battery! (this prioritizes the coach
batteries but once those are full it sends up to 2amps to the chassis battery) That should keep the starting
battery toped off too.
One other note about the expense of the IPN Pro Remote. This remote gives so much control and so much feedback
about the current condition of the batteries. Coupled with the 500amp Shunt and Temperature probe, it is a very
intelligent charger and battery monitoring system, giving you much the same if not more information then a
TriMetric 2020, I would highly recommend it!
|
|
|
